Finally, the kitchen floor update! To cut right to the chase I will say that I put plywood plank floors in our kitchen. Yes, a plywood plank floor. And I have to say, they look and feel incredible.
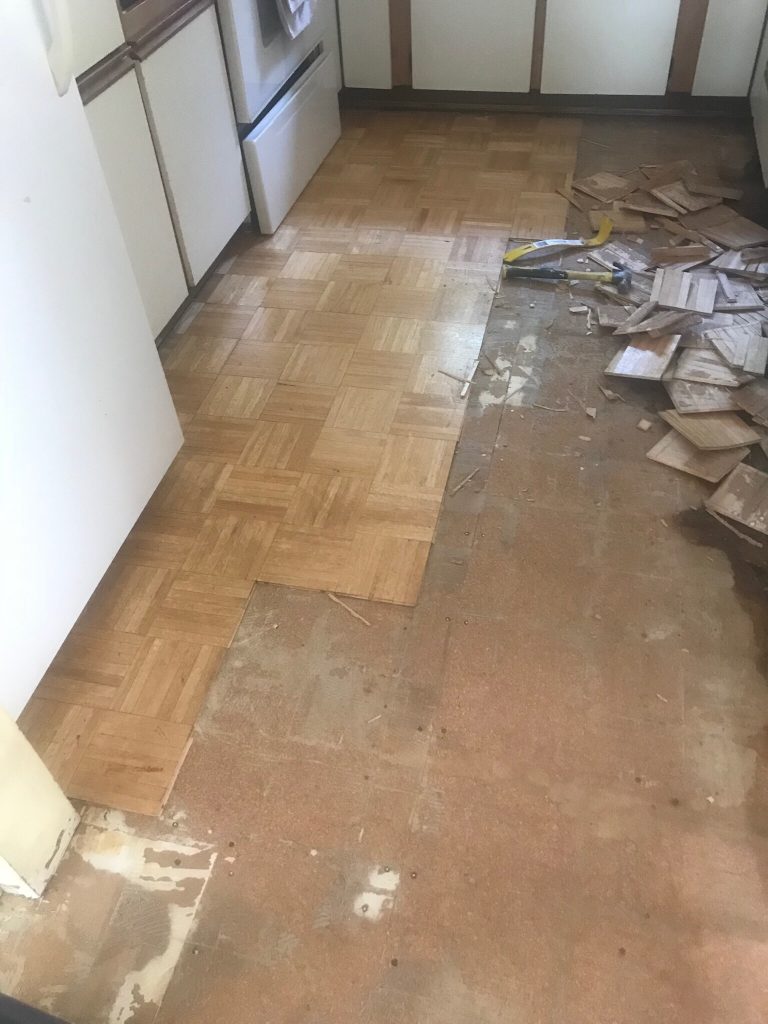
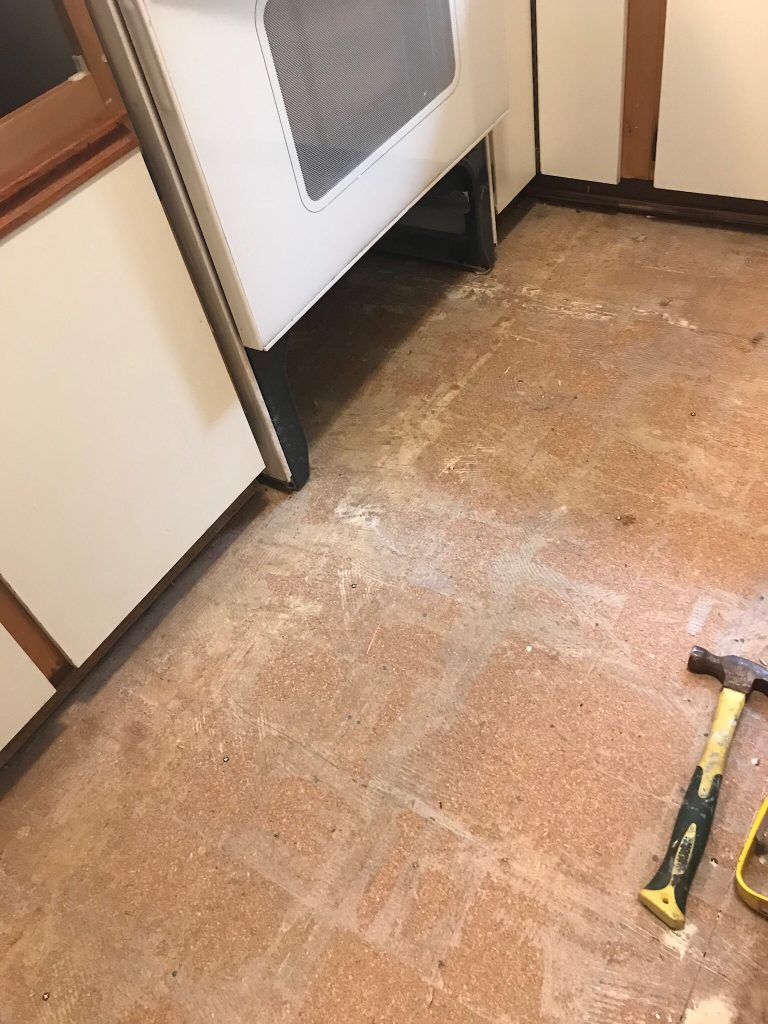
  I started by stripping off all the existing flooring – the top layer of crappy looking laminate flooring and then the layer of parkay flooring that the laminate had been installed over top of. In case you don’t know, parkay flooring is made of those little wood squares that go together sort of like wooden tiles. It looks okay but I was going for a totally new look.
 Once the flooring was out, the big question – what to replace it with! I didn’t have enough of the laminate that was going in the living room and dining room, primarily because there was no plan to do the kitchen at this time. So what to do?
I was voicing my frustration about what to do for a new floor to a friend who knows loads about construction and home renovation when I said, “I am ALMOST ready to just paint the plywood floor and be done with this project.”
He replied, “Well, you know that is what the neighbour did.” And a light bulb lit up for me! So off to Pinterest and YouTube I went to learn more! And that is where I learned about plywood plank flooring.
Once I had a clear understanding of what I was going to do I headed to the local lumber yard and talked to the people there. First three places they looked at me like I was crazy and basically told me, “You can’t do that. It won’t work.”
To which I replied, “Actually I am going to do this and yes, I am going to make it work. And I will not be spending my money in your store.”
 Then I met Brad at the Rona store near Coquitlam Centre who said, “What an interesting idea! I have never heard of that but it sure sounds interesting. How can I help you?” Please note, this is NOT a sponsored post for Rona – it is a quick shout-out to someone who knows what customer service looks like.
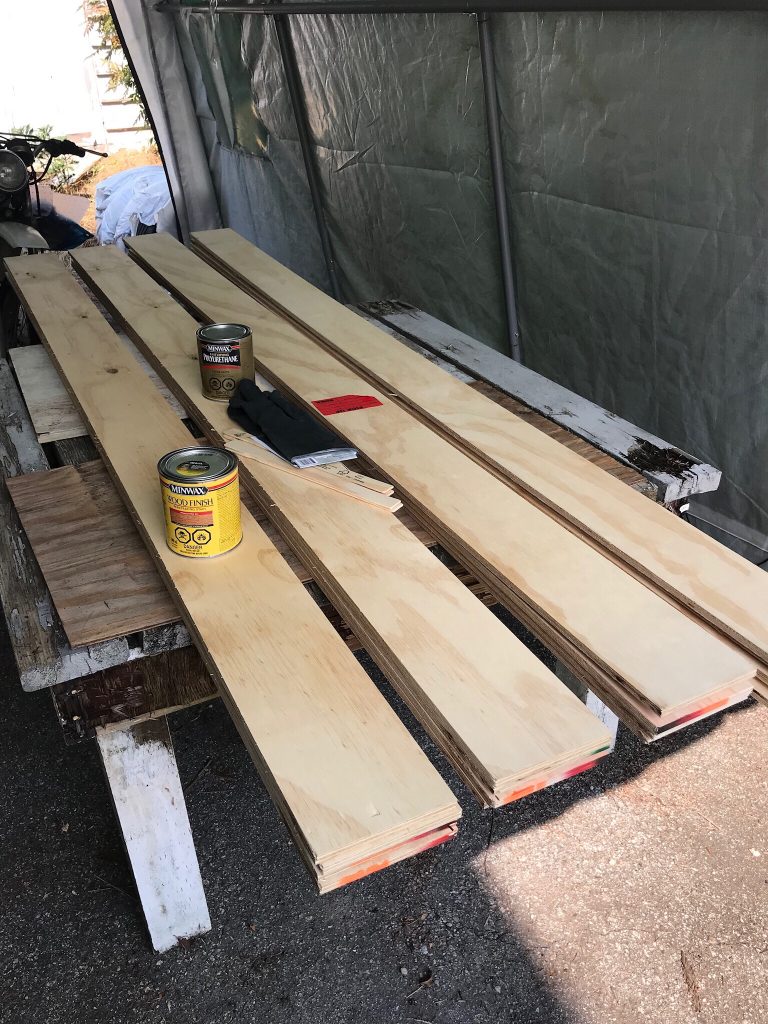
  We dug through the pile of “good one side plywood” until we found two sheets of pine plywood with an interesting grain pattern. And then I had Brad “rip” the sheets of plywood into 6″ wide strips.
 Strips of plywood that I could then take home very easily and begin to stain to the colour that I wanted for my kitchen floors.
This is where my decision making got a little complicated. I knew that the grain and the colour and the overall look of the plywood plank would be different from the look of the laminate that was going into the adjacent dining room, so I decided to try to match the colour and look of the plywood plank to the trim of the kitchen cabinets and have a strong contrast to the colour and look of the flooring in the dining room/living room.
And yes, I know that my realtor friends say that I will NEVER be able to sell the house if I have more than two types of flooring on one floor of the house but really, at this point, it is our HOME – not a house we are thinking of selling and if/when we do decide to sell, we’ll cross that bridge.
 So I bought a litre can of Ipswich Pine stain and a litre of polyurethane (a finishing-sealer like product).
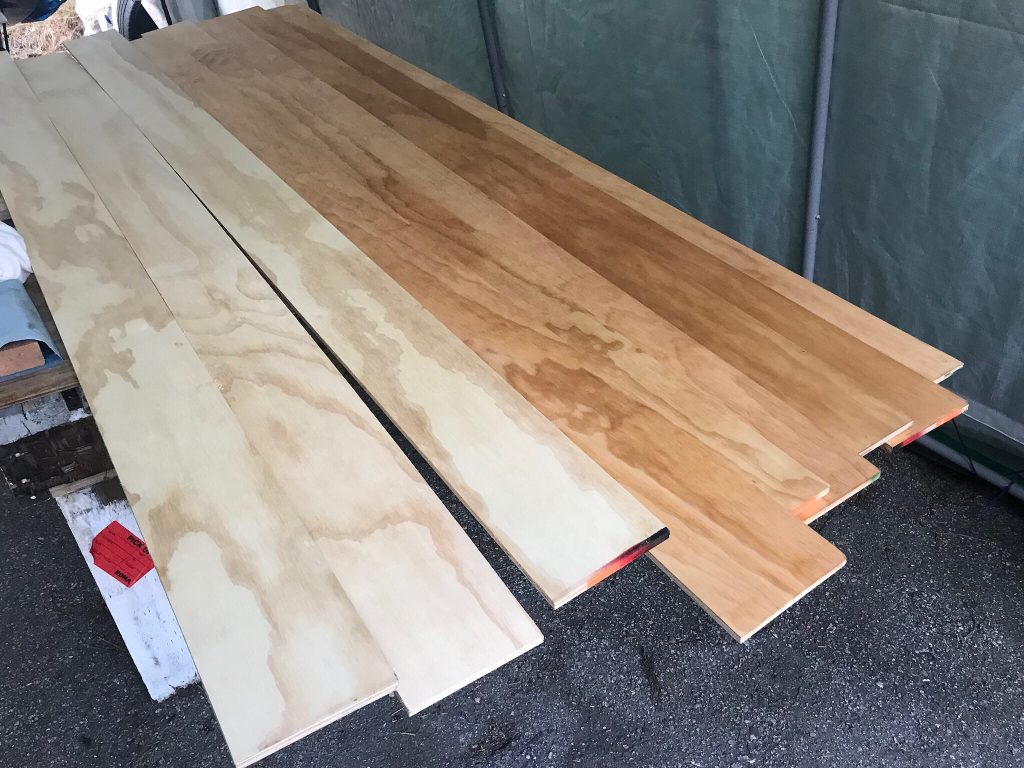
  You can see in difference between the “raw” colour of the plywood plank and the colour of the plywood planks that have their first coat of stain.
I wasn’t happy with the lightness of the stain, even with two coats of it applied so I went back and bought another litre of stain (Colonial Maple or something like that).
A note here – my stain was probably not as dark as I would have liked because I did not stir the first can as thoroughly as I should have. The “colour stuff” in the stain settles to the bottom of the can and if you do not stir it with that in mind, you will have a VERY light stain.
Like I did. Stir thoroughly!
 To be honest, the picture above was taken inside in a very different light than the one previously and it is after three coats of stain AND a first coat of polyurethane.
Which reminds me – this is where I diverged from the path that most people. They installed the plywood planks without any stain or finish on them. I couldn’t see any reason why that would be the case so I took the time to apply stain and polyurethane to the plywood planks BEFORE even bringing them in the house. I figured that would significantly reduce the amount of chemical smell in the house (I was correct).
And then the install. I had Darryl, a good friend who knows about home renovations help me with the install and I will say, installing the plywood plank flooring was, not easy, but easy to work with. Dealing with the plywood planks felt more natural than any other flooring I have ever worked with.  We took the time to fit the pieces together with an eye on the pattern of the grain and what the overall look of the floor would be once it was finished. Some of the people who I read about doing plywood plank floors glued their planks to the floor. Others said that might be good to eliminate spring from the flooring but it also might create a mess when or if you want to remove the plywood.
We decided to just use the Brad Nailer with 1 1/4″ brad nails to hold the flooring in place. And, my friend Darryl saved me from myself (I am a framer – NOT a finisher!) and he forced advised me to use a straight edge to keep my rows of nails in a straight line.
And I will admit, that kind of attention to detail really paid off in the end!
 This last photo is after I added another coat of polyurethane to the floor once it was installed. And my hunch about doing the staining and polyurethane outside to reduce chemical odours in the house was proved true. Yikes.
I did the final coat of polyurethane on the floors and what a smell! Fortunately the weather has been great so I left all the doors and windows open with fans running to move the air. Even so, the polyurethane smell stuck around for three days.
The end result – we have a pretty spectacular new plywood plank floor in our kitchen! Yes, there are three butt-joints that aren’t as pretty as I would have liked and yes, there is a little bit of spring to the boards when I walk on them. And yes, this plywood plank floor is probably not going to last as long as a vinyl plank or a real hardwood floor would last, but all things considered, my plywood plank floor is beautiful.
I would not hesitate to do this again. Now, to see how well this floor stands up to the traffic of a wild family.
Comments
One response to “The New Kitchen Floor; Plywood Plank Floor”
Congrats!!! Good job.