I decided to make myself a new “farmhouse style” kitchen table for my cabin from a couple of bug-killed trees I cut down around my cabin years ago. After cutting the trees down, my friend and I used an Alaskan-Sawmill and milled the trees into dimensional lumber.
That was 10 or 15 years ago and the lumber has been standing, drying in the shed all those years. Until this fall.
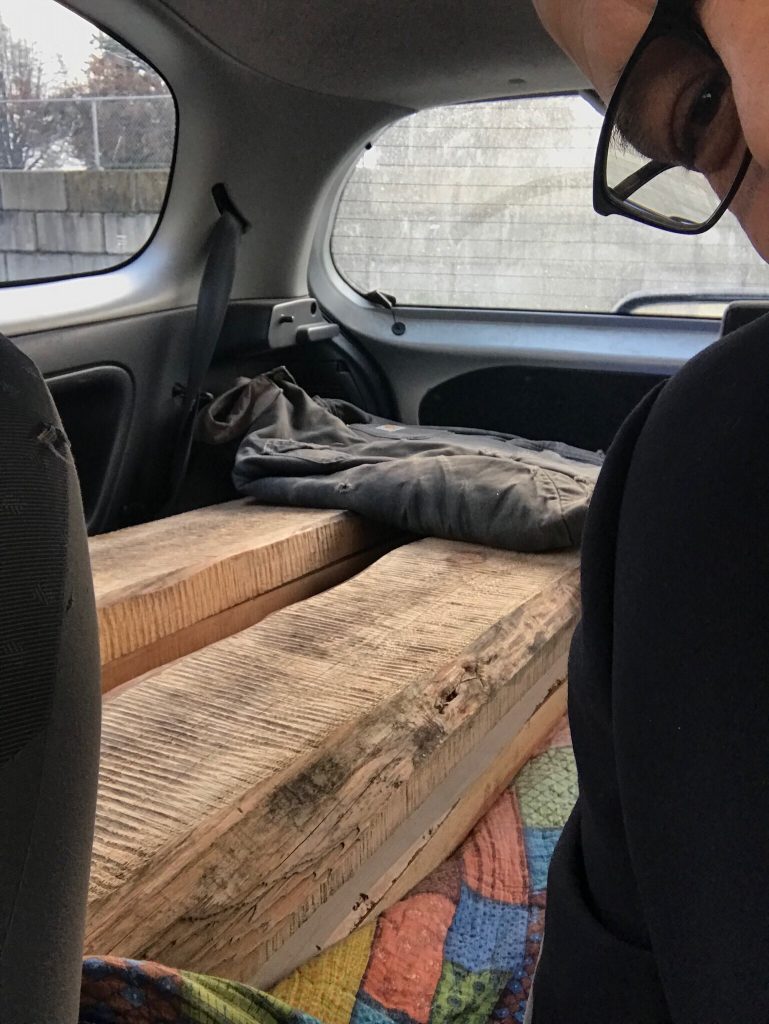
 The first thing I had to do was get the lumber from the cabin, back to another friend’s workshop out near UBC. Seeing as all my buddy’s with pick-up trucks have rendered them virtually useless by putting covers over the boxes, I cut the lumber to the approximate size I wanted the table to end up, and loaded the lumber into my Toyota Echo (a way better value than any pick-up truck on the road.)
 Which brings me to my next point; you need to know right from the get-go that your wood is not nearly as large as you probably think it is. I thought my wood was plenty big enough, but alas, when I looked at my wood from a different angle, my wood was not nearly as big as I thought it was. At least that was my experience.
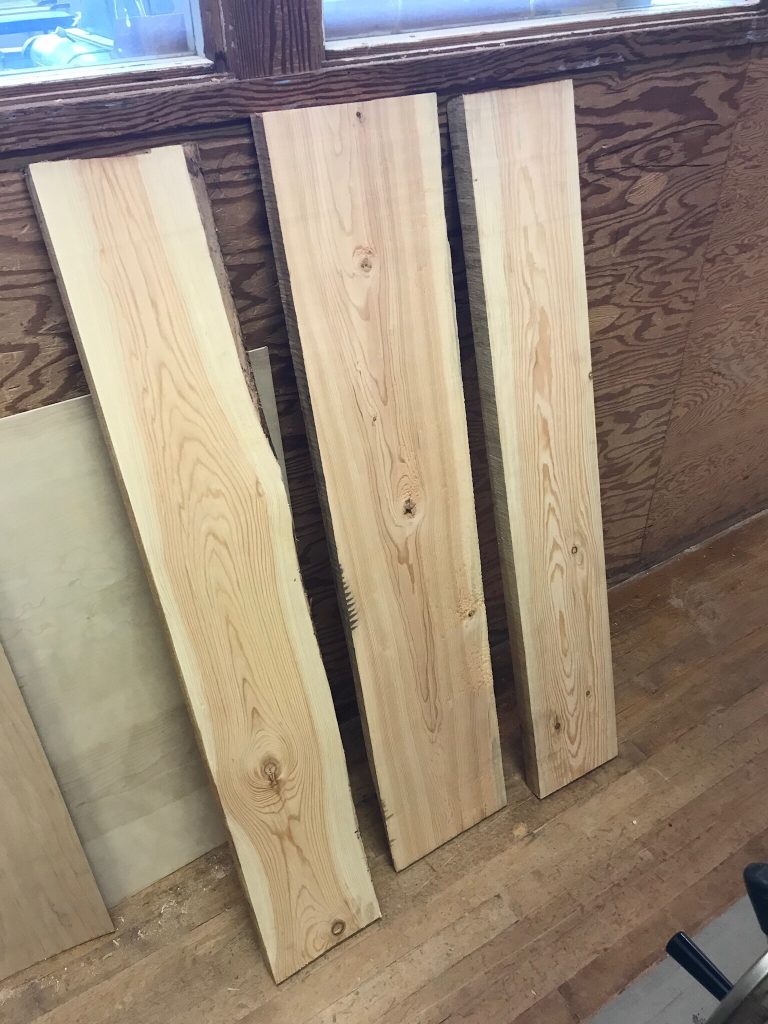
Initially, the planks I had were 2 1/2″ thick and 9-10″ wide. But after planing the lumber to a smooth surface, I ended up with planks that were barely 1 3/4″ thick.
And like most guys, I thought my wood was way wider and longer than it really was. I wanted to end up with a table approximately 30″ wide and 52″ long. Well, by the time the lumber had been run through the jointer enough times to create a series of flat and smooth surfaces to glue together, my “massive” planks were no longer massive.
The good news is, I will likely end up with a table that is approximately 29″ wide and 50″ long. I’m good with that.
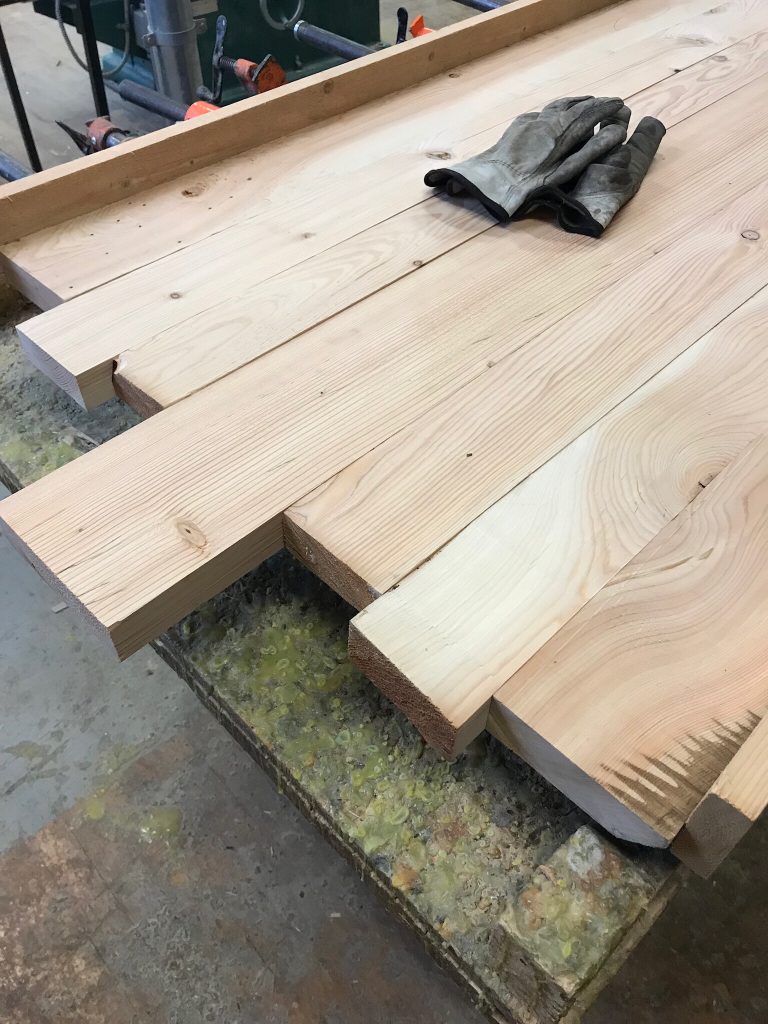
 Once I reconciled the truth about my wood, I placed the planed and jointed planks on the work table and flipped them end for end, top for bottom and place to place in order to fit them together with the most attractive surface and even more importantly, the most effective, strongest use of the lumber so that I would end up with the best quality table top possible.
I gave lots of consideration to the placement of the knots and other “features” in the lumber while placing the planks in place.
 See that piece in the picture above? The corner that has some brown-grey lines showing up? That is where the “art” of woodworking and the science “clash”. My artistic vision was to have the wane along the side of the outside boards featured. As it turns out, not much of the wane will be visible. I will save some of the wane-featured lumber for another project.
Once I had spent enough time flipping, rearranging and playing with my lumber, it was time to smear glue along the edges. The glue remains pliable for 10-15 minutes after application so I had time to get each board thoroughly smeared with glue before rubbing it against the neighbouring piece of lumber.
After the glue was smeared from edge to edge on every board, I began to tighten the clamps that will hold them together.
I snug the first clamp into place, adjust the planks for “up and down” (to make sure the table top will be relatively smooth) and then work around the newly created “tabletop” cinching in each clamp little by little.
I kept going around the tabletop until the planks were tight up against one another and the surface looked as much like an unfinished tabletop as I wanted. I probably made five or six circuits around the tabletop before deciding enough was enough.
And now I wait. The wood glue takes about 24 hours to cure but I won’t be back out to my buddy’s woodworking shop for about a week. So after a week, I will have more pics and info about my Farmhouse Kitchen Table project!


