I’ve made some progress on my farmhouse kitchen table.

Perhaps most importantly, I’ve got the table and parts at home in my garage!

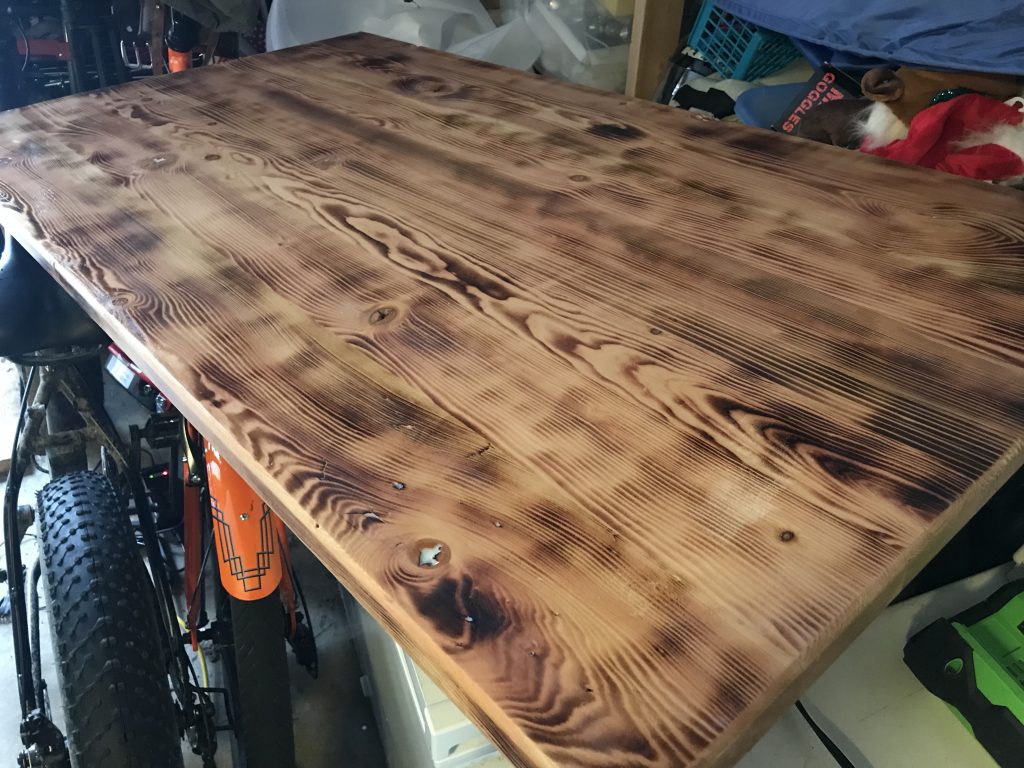
As you can see, all the pieces are now glued together, cut to length, cut to width, and planed and sanded to the desired thickness.

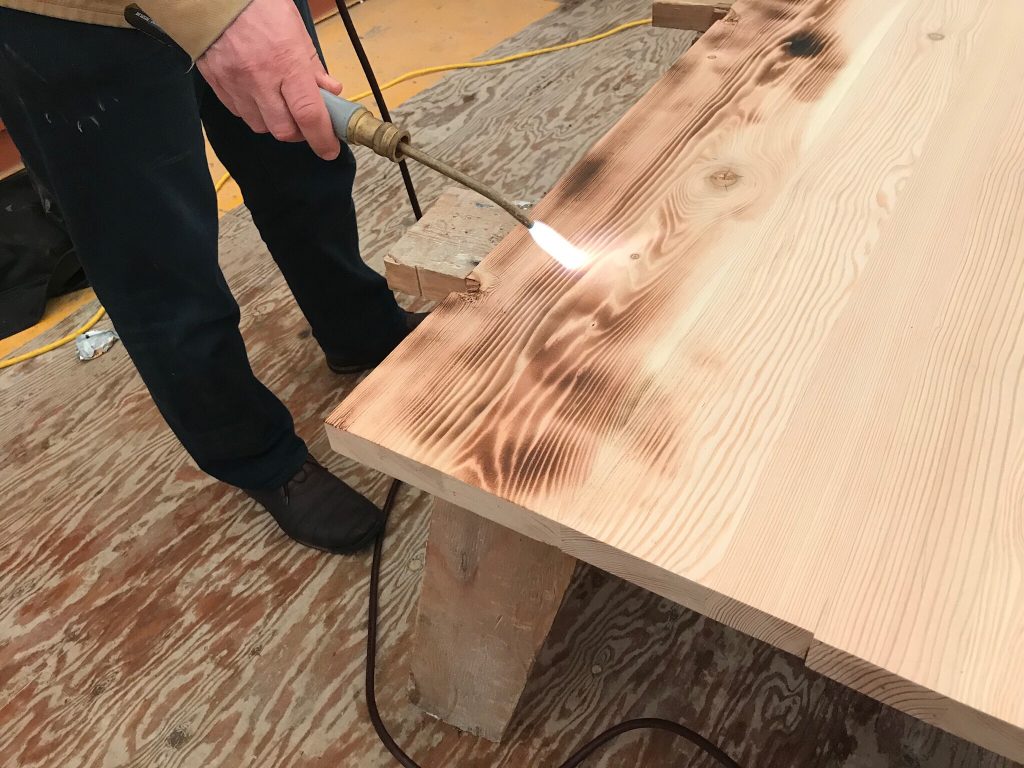
Did I show you how I took a propane torch and “burned” the top surface to make the grain pattern “pop out”?
That was cool! Or hot. Anyway, I torched the entire surface and then I brought it home and spent the morning with a block and a sheet of 220 grit sandpaper. It cleaned up beautifully!

And the legs. I bought all the black iron pipe parts for the farmhouse kitchen table and loosely put them together just to see how it would look. I’ll be honest, it looks awesome!

After making sure the legs work and it is the correct height, I took the farmhouse kitchen table top off and put it on the paint prep work space (on top of the freezer in our laundry room!).
I popped into our local hardware store, picked up a litre of (water-based) semi-gloss varathane and a paint brush and then came home to apply it.

And that’s what I did. Well, the kids and I did. We painted the semi-gloss varathane onto the top surface and now that’s where it sits – on top of the freezer.
Overall, we’re very pleased with today’s progress on the farmhouse kitchen table. I’ll add more as it progresses.